Quick start
- Step 1. Log in to Adfox
- Step 2. Banner types and templates
- Step 3. Add contractors and a contract
- Step 4. Add a site, sections, and placement
- Step 5. Get and place the ad tag on the resource
- Step 6. Create an advertiser
- Step 7. Add an ad campaign
- Step 8. Add banners to the ad campaign
- Step 9. Enable monetization with the Yandex Advertising Network or via Header Bidding
- Contact support
Step 1. Log in to Adfox
A new Adfox account is created automatically when you register in the Yandex Advertising Network and accept the service's single electronic offer.
If you don't have a Yandex Advertising Network account
-
Log in with Yandex ID or register.
Warning
Do not use employees' personal or work accounts to register in Adfox. Instead, create a fresh Yandex ID account for your company. This ensures you still have access to the account even if the employees responsible for it change.
-
On the Adfox home page, click Join.
-
Fill out the application and click Send application. You get access to the Yandex Advertising Network and Adfox interface.
You get Administrator access immediately after registering. The administrator has the full set of rights to manage account settings. They can also create users and manage their access rights. You can't transfer administrator rights to another user.
You can access Adfox the following ways:
-
Log in to your Adfox account.
-
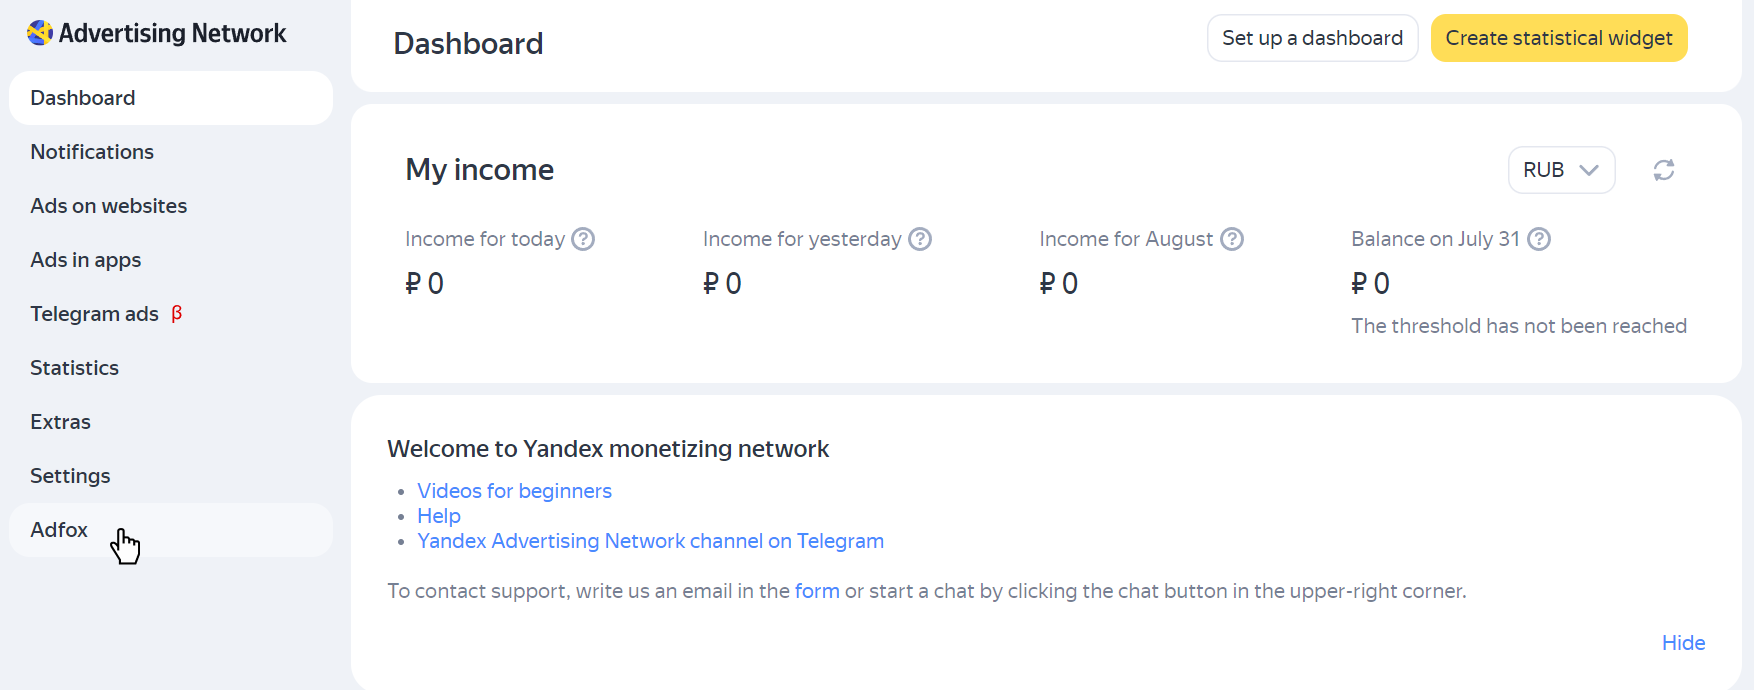
Log in to your Yandex Advertising Network account and select Adfox in the left menu.
Step 2. Banner types and templates
You can use a banner type to mark up ad placements on your website, in a video player, or in an app. For example: Fullscreen, 240 × 400, 300 × 600, stretching banner, pre-roll. Each banner type contains a set of templates which determine the appearance and functionality of an ad creative.
You should add custom banner types if you're going to place ads on your site (including its mobile version). For other cases, banner types and templates are already set.
How to determine banner types and templates
The banner type and the templates it has available depend on the ad format and placement:
|
Placement |
Format |
How to add a banner type and a template |
|
Website (desktop and mobile version) |
Banner ad, Video ad |
|
|
AMP pages |
Banner ads |
Added by default. To enable available banner types and templates:
|
|
Mobile apps for iOS and Android |
Banner ads |
Added by default. Located in the Settings → Banner types → Predefined → Nondimensional tab. Banner types for apps have App Mobile in their names. |
|
Video ad |
Added by default. Located in the Settings → Banner types → Predefined → XML tab. |
|
|
Video resource |
Video in video content |
Added by default. To enable available banner types and templates:
|
|
— |
Added by default. To enable the 1 × 1 banner type, go to Settings → Banner types → Predefined → Nondimensional. |
Step 3. Add contractors and a contract
This step is necessary if you place ads under a contract for displaying ads in Russia signed directly with an advertiser or through an agency and want to report these ad impressions to the state register through the Yandex advertising data operator.
For more information about transferring data to the state register, see Settings for Russian ad register.
When you don't need to specify the contractor and contract data
You don't need to add contractors and an contract if at least one of the following conditions is met:
- You don't have a direct contract for placing ads with an advertiser.
- Ads will be displayed outside of Russia.
- You place a token in a creative on your own and transfer data to the Russian state register via a different advertising data operator.
Step 4. Add a site, sections, and placement
A site in Adfox is a resource where ads are placed. It can be a regular or mobile website, a mobile app, or a video resource.
Each site (website, app, video resource) is divided into sections and placements. A site section is a part of a site that's logically distinct in terms of topic, method of selling banner placements, subdomain, or any other characteristic. A placement is the direct ad placement on the site.
To learn how to add a website, sections, and sites, see Add a site, section, and platform.
Note
To place banners for direct sales in your mobile app, add the app in the Yandex Advertising Network interface, create an ad unit, and connect it to Adfox. If you use Mobile Mediation, Adfox is already enabled by default.
You can find your app in the Adfox interface on the Inventory tab. It will have the same name as in the Yandex Advertising Network.
Step 5. Get and place the ad tag on the resource
You should obtain the site-level ad tag for the ad placement once and install it on all the pages of your site. To get the ad tag to install on your site:
- Open the Inventory tab and click Ad tag next to the name of the site. The Ad tag tab with the ad loader code and the ad block code opens.
- Choose Banner type and Position, corresponding to the site where you are planning to place the ad tag.
- Add the ad loader code to the
<head>of each page where your ads are served. Add the ad unit tag between the<body>and</body>tags where the ad unit should be displayed.
Integrate the Yandex Mobile Ads SDK into the app and connect an R-M ad unit. For more information, see the Help section on in-app advertising.
- Open the Inventory tab and click Ad tag next to the name of the video resource. The Ad tag tab opens.
- Choose Banner type and Position, corresponding to the site where you are planning to place the ad tag.
- The ad request link appears.
- Afterwards, integrate Video Ads SDK into the player and paste the link. Learn more about ads in the video player.
Step 6. Create an advertiser
An advertiser is a user who can access statistics of campaigns that they are indicated as the advertiser for. An account administrator can also allow an advertiser to add, edit, or delete banners in their campaign.
If you are not planning to grant other users access to statistics, you can select a pre-installed advertiser in the ad campaign settings.
How to create an advertiser
-
Go to Users → Participants → Advertisers and click + Create new.
-
Enter the advertiser's login and email address. The advertiser will be sent an email with a link to register in Adfox.
Note
You can only use Latin letters, numbers, dashes, underscores, and periods to create a login. The login must contain from 1 to 32 characters and be unique within the Adfox system. If you enter an existing username, a warning appears.
Step 7. Add an ad campaign
-
Go to Campaigns and click Create.
-
Specify the advertiser created earlier, the campaign type, and the impression count method.
-
Select what data to submit to the ad register:
-
Submit data to state register: Select this option to get a token and transfer data to the Russian state register (ERIR) via the Adfox interface.
-
Do not submit data to state register: If at least one of the following is true:
- You don't have a direct contract for placing ads with contractors.
- Ads will be displayed outside of Russia.
- You place a token in a creative on your own and transfer data to the Russian state register via a different advertising data operator.
-
-
Select a site, section, or placement where you want to run your campaign.
-
Save the campaign.
Step 8. Add banners to the ad campaign
A banner is an advertising creative.
- In the campaign you created, go to the Banners tab and click Create.
- Select the banner type that you specified when creating the placement.
- Select a template for your creative, such as Banner Image [context].
- Configure the banner settings. To learn more about the settings and requirements for creatives, see Banner requirements.
- If you chose to Submit data to state register at the ad campaign level, add the creative data in the Advertising labeling section. For more information, see How to register creative content in Adfox.
- Click Add.
Now the advertising creatives are displayed on your site. Detailed information about ad requests, impressions, and clicks can be found in the Reports tab.
Step 9. Enable monetization with the Yandex Advertising Network or via Header Bidding
Monetization enables you to sell traffic on placements through the Yandex Advertising Network or other external monetizers using Real Time Bidding technology. You can find the list of external monetizers that can be connected to Adfox in Header Bidding.
Monetization with the Yandex Advertising Network can be enabled for both regular websites (mobile and desktop versions) and for sites created using AMP technology.
- Add a website in the Yandex Advertising Network interface. Once added, the resource is automatically sent for moderation. After your resource passes moderation, you can connect the Advertising Network to Adfox.
- In the Adfox interface, go to Monetization → Display Advertising, and hover over the platform to connect to the Yandex Advertising Network. A plus sign appears in the YAN block ID column, click it.
- In the window that opens, select the site added to the Yandex Advertising Network in the first step. This will create a special ad unit that you can work with in Adfox.
- The YAN interface opens: add advertising formats to the block and set up an impression strategy. To learn more about setting up ad units, see Yandex Advertising Network Help.
Header Bidding is a technology that lets multiple monetizers connected to a site bid on a placement when a user loads a site page, enabling you to get the highest price.
Before you start connecting any third-party monetizer:
- Sign a separate contract with each monetizer that competes in Header Bidding auctions.
- In the monetizer's personal account, create an ad unit for the desired placement on your site and save its ID — you'll need it to create a configuration script.
Step 1. Add a template labeled Header Bidding for the banner used on the placement
Determine the banner type used on the placement where you want to enable external monetization. Let's say this is a 240 × 400 predefined banner type. Add a special template to this banner type:
- Go to Settings → Predefined and open the templates in the desired banner type.
- Find the template with the monetizer's name that's labeled Header Bidding from the list of templates (for example, Header Bidding myTarget) and click Select (>>).
- The desired template is added to the banner type. Click Change.
Step 2. Create an ad campaign for an external monetizer
- Go to Campaigns and click Create.
- Enter the name, advertiser, and the external monetizer you selected.
- Select a site, section, or placement where you want to enable external monetization.
- Save the campaign.
Step 3. Add a banner
- In the campaign you created, go to the Banners tab and click Create.
- Select the banner type used on the placement where you want to enable external monetization.
- Select the template that you added in step 1. In our example, it is Header Bidding myTarget.
- If necessary, change the banner settings. To learn more about banner parameters, see Adding banners.
- Click Add.
Step 4. Create and connect a configuration script
- Go to Monetization → HB configurator.
- Click Add container and specify the Container ID.
- Click Add monetizer.
- Select a monetizer (in our case it's myTarget) and specify the Monetizer's placement ID, which is an ad placement ID in the account of the selected external monetizer.
- Click Generate.
Copy the ad tag and add it to the HTML code of the site (or selected pages) inside the <head> tag. Afterwards, Header Bidding external monetization for Adfox placement is enabled.
To learn more about monetization, see Monetization in Adfox.
Related information
- Getting started with Adfox: site monetization
- Getting started with Adfox App monetization
- Getting started with Adfox Configuring direct placements and ad labeling in Telegram channels