Notifications
Yandex Browser shows notifications from:
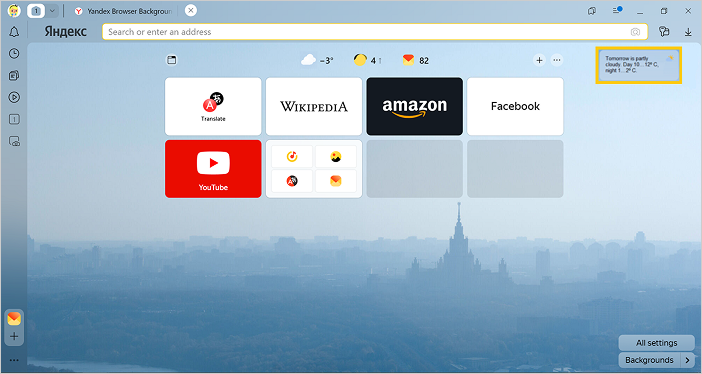
From Yandex services
Yandex services send notifications about weather changes, traffic conditions, emergencies, and other events. You can choose what kind of notifications you want to see.
Note
To save the settings, log in with your Yandex ID. If you are not logged in, the notification settings are saved in the Yandex Browser cookie file and deleted the next time you clear the cookies.
Select the types of notifications you want to receive.
On a new tab
-
Click → Settings → Interface.
-
Under New tab page view, click Informer and notification settings.
-
Select notifications.
Pop-up notifications
-
Click
 → Settings → Websites.
 -
Under Notifications, click Yandex services.
-
On the In Yandex Browser tab, select notifications.
From other sites
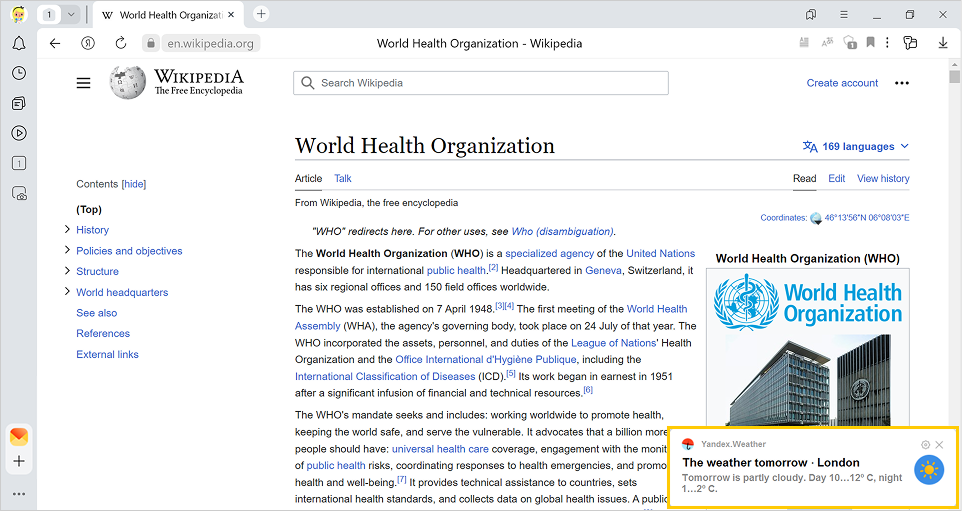
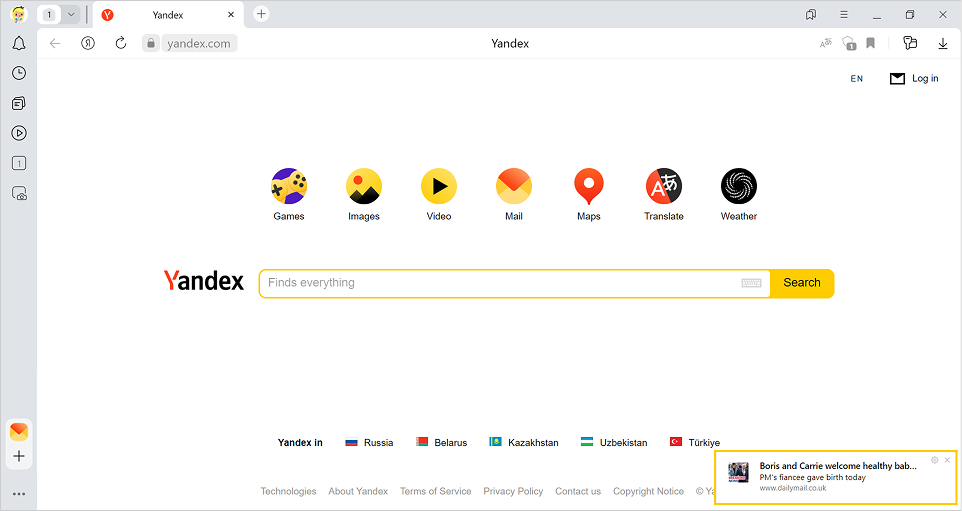
Websites can send notifications about news, comments, updates, and other events. Sites usually request permission to send notifications, but sometimes they can do this without permission. In Yandex Browser, you can allow or block notifications from a specific website, or disable notifications from all sites.
The first time you open a site that sends notifications to users, Yandex Browser asks you if you want to allow or block notifications from the site. When notifications are enabled, you can see the ![]() icon in the SmartBox.
icon in the SmartBox.
Block or allow notifications from the site
Click  → Don't allow notifications from <wеbsitе>.
-
Open the site.
-
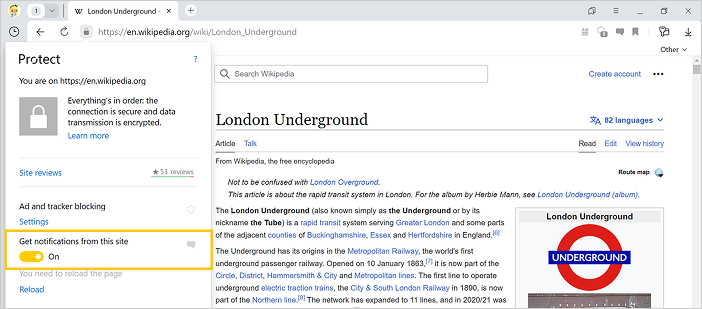
In the SmartBox, click the connection status icon.
-
In the Protect panel that opens, enable or disable the Get notifications from this site option.
-
Click → Settings → Websites.
-
In the Notifications section, click Other sites.
-
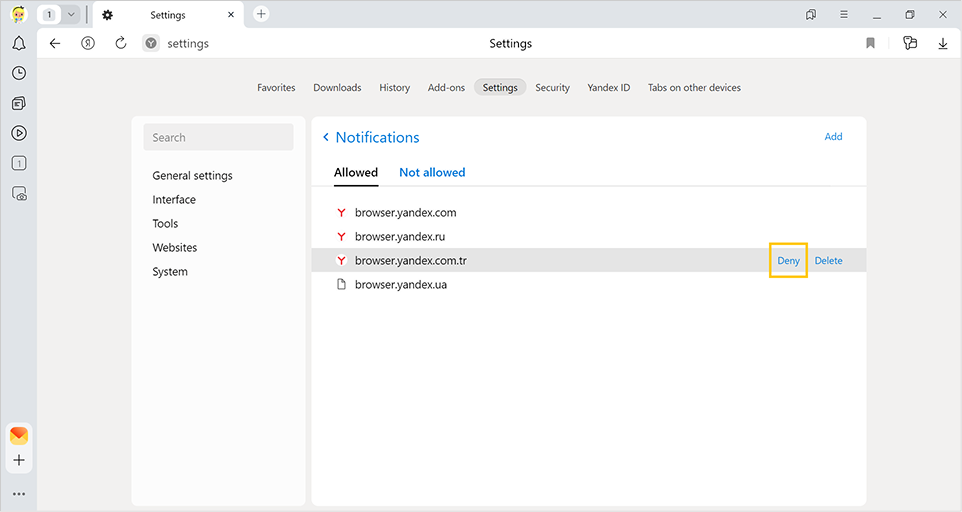
Find the website address on the Allowed or Not allowed tab.
Tip
Search in the list if it is long. Click → Find on page to the right of the SmartBox or press Ctrl + F (on Windows and Linux) or ⌘ + F (on macOS). In the window that opens, enter the site address.
-
Hover your mouse cursor over the website and click the Deny or Allow link that appears.
Prevent sites from suggesting notifications
-
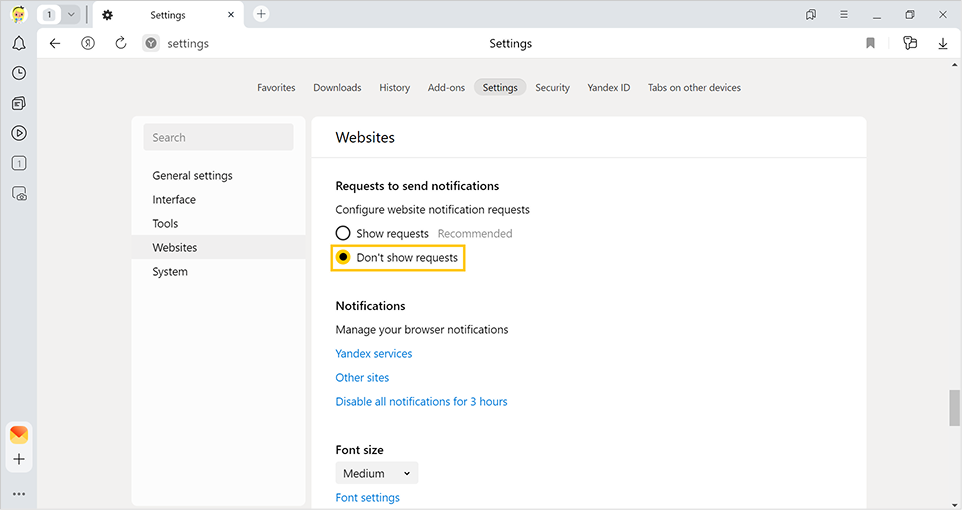
Click → Settings → Websites.
-
Under Requests to send notifications, select Don't show requests.
After this, the sites will not suggest notifications to you. Sites that you have already allowed to send notifications will continue sending them. You need to block such notifications for each site individually.
You can enter search queries in the address bar and Yandex Browser will understand what you need.