2.10.1. Adding map item attributes
For every item on the map, you not only have to draw it, but also assign it attributes (i.e. enter values for its characteristics.
Techniques for adding attributes are described in sections:
When assigning attributes, follow the rules defined in Section 3. Global mapping rules
2.10.1.1. Techniques for adding attributes
When you create or edit an item, its attribute panel opens:
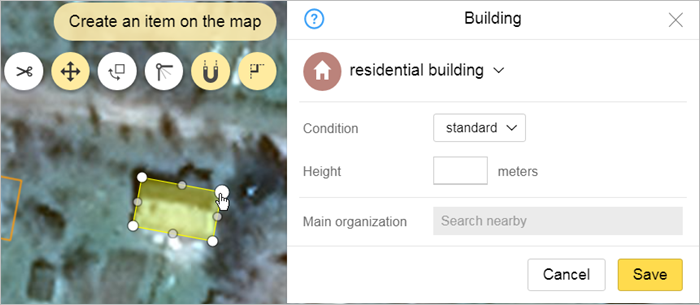
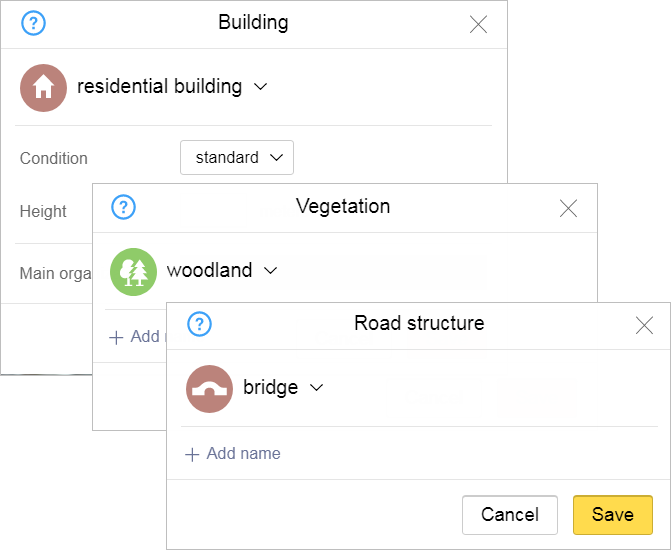
The panel contents will differ slightly depending on the map item:
All attribute panels contain.
-
A heading that displays the name of the item type (for example,
Building
orRailway station
). -
A
 (Help) button, where you can read the rules for drawing that type of item and a
  (Close) button, which closes the panel without saving your changes.
 -
A set of fields where you can enter attribute values.
The fields in the attribute panels will differ based on the type of item.
There are several types of fields:
-
Fields where you select a value from a list have a check mark in the right corner:

The field may be named (as in the drawing above) or un-named:
The list opens when you click on the field (the check mark turns around when you do this). Choose an item from the list:
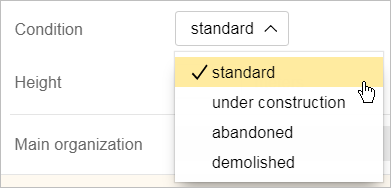
The list may include pictographs of map items.
-
Fields where you enter attribute values using your keyboard. For example,
Population
:
-
Fields where you flip a switch. You can set the value to
Yes
(if you check the box):
or
No
(if you don't check the box):
Click on the field to check or uncheck the box.
-
-
The Save button, which saves your changes, and the Cancel button, which cancels any changes you made.
2.10.1.2. Techniques for naming items
The Name field group is part of the attribute panel for all items.
Note
Not all geographical items have names (for example many forests lack names). In these cases, you can leave the Name
field blank.
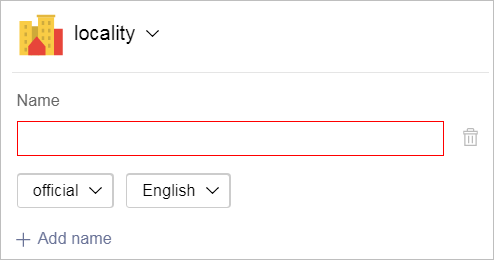
For example, in the Administrative division
panel:
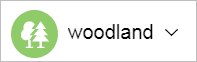
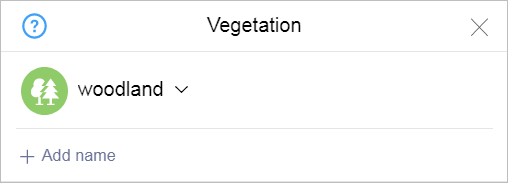
If the item may or may not have a name, then you can add the Name field to the panel if necessary by clicking the Add name link. For example, in the Vegetation
panel:
The process for setting a Name is the same for all map items (localities, roads, rivers, etc.):
-
In the creating/editing panel for the map item, click on the Add Name link in the
Name
area: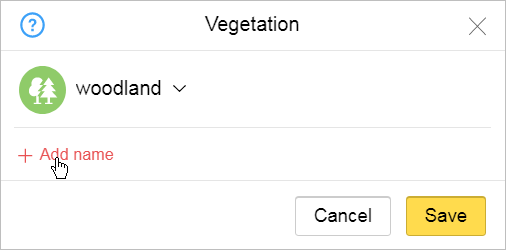
The part of the panel that contains the
Name
field group opens (for items that should definitely have names, this group is accessible right when you open the panel):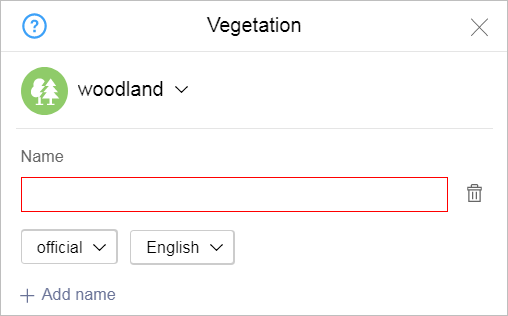
-
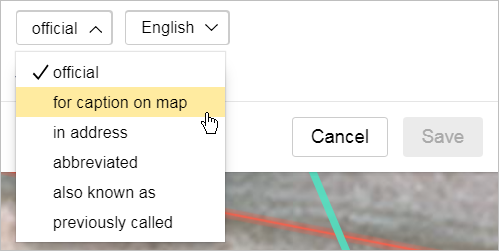
Click on the first field and select the type of name from the drop-down list (official, for map caption, etc.). For a description of name types, see Section 3.1.3.1. Name types: general rules:
-
In the field to the right of the
name type
, select the appropriate language for that name option: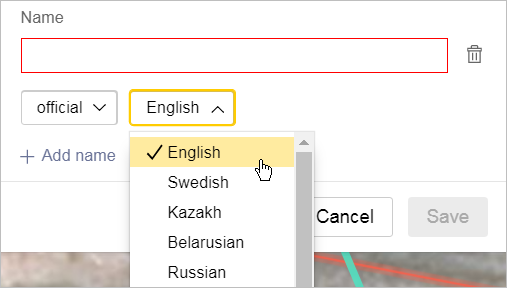
-
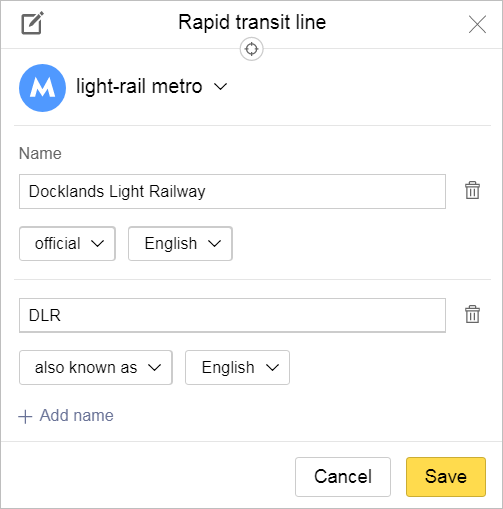
If the item has several types of names, then you must repeat this procedure after you enter the first name. Just click on Add name and enter the type and language for the next name in the new field group.
For example:
Alert
When you add several types of names, keep in mind that they should all refer to the same map item.
For example, for Leninsky Ave. in Moscow you can enter the name Bolshaya Kaluzhskaya St. (the
Also known as, historical
name type).If you are referring to different items (such as roads that partially overlap), then you should add two different items to the map rather than add the names for both of them to one item.
For example, Minskoe Highway and the M-1 route partially overlap, but they are mapped as two roads rather than two names for the same road.
-
If you need to delete one of the names, click
 (Delete) to the right of the
 Name
area. The corresponding field group will be deleted. -
Click Save on the panel.
The names you entered will be saved.